
THE 12 MAKES OF CHRISTMAS 2014
CHRISTMAS MAKE NO.10: THE TOTE
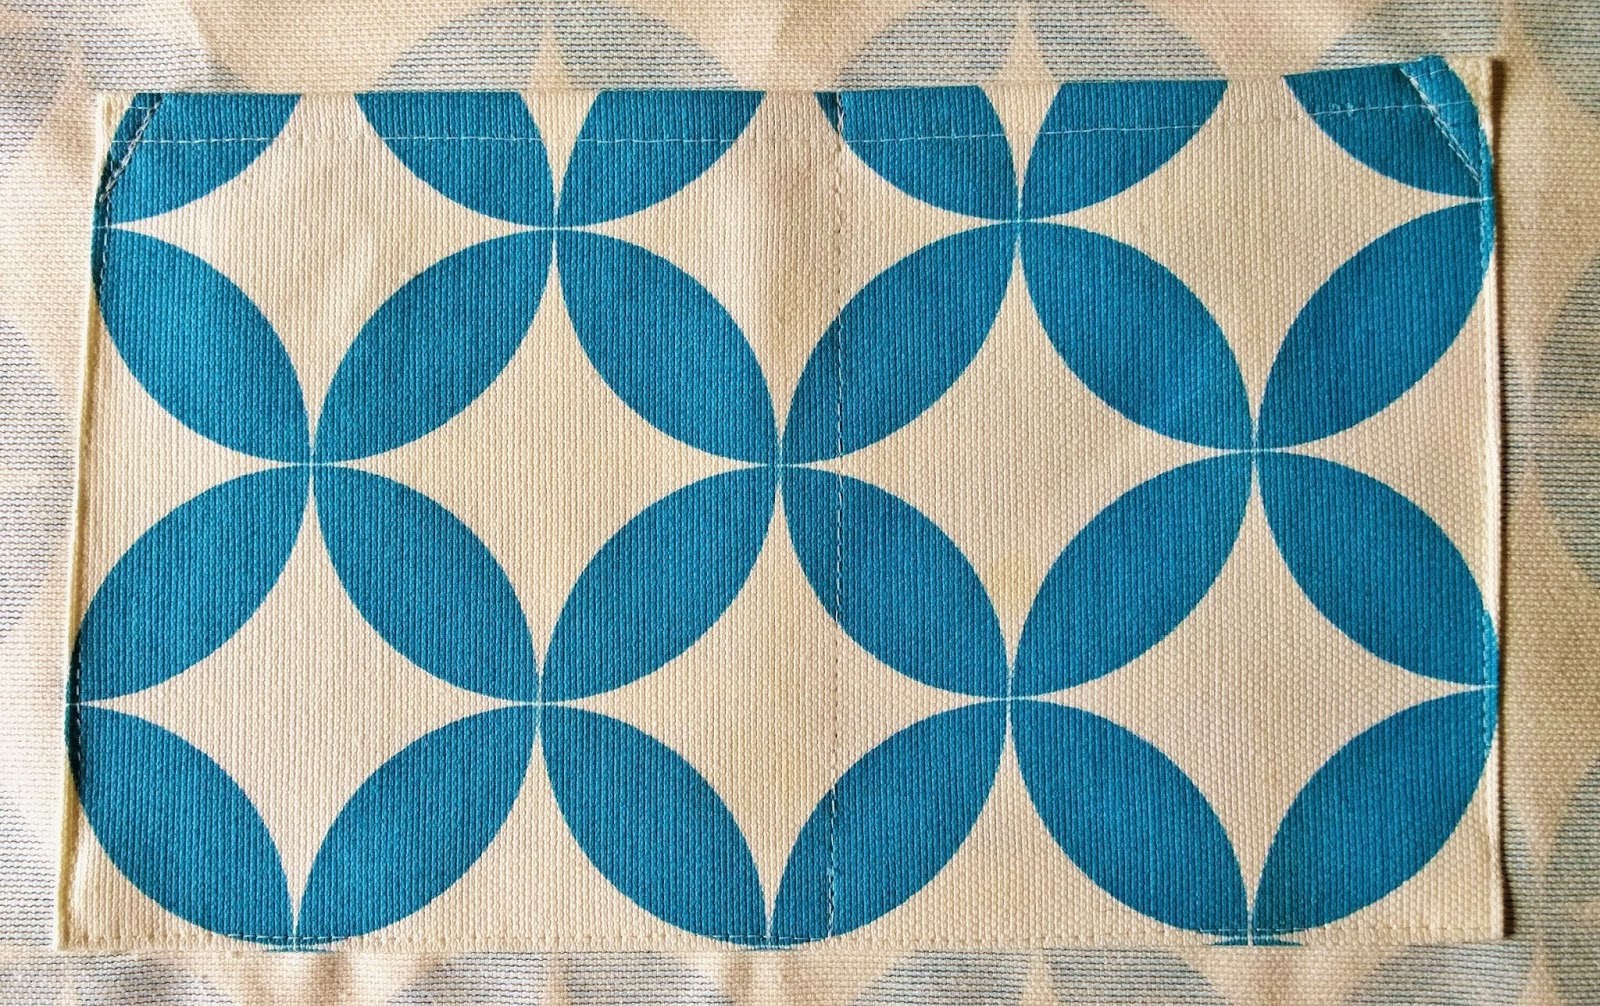
You will need about half a metre of fabric to cut the following 5 pieces. My measurements were governed by the pattern on my fabric though, so you may want to alter them up or down depending on the size of bag you want to make. The finished dimensions of my bag are: 45 cm wide x 32 cm high x 10 cm deep.
1 main piece at 48 cm wide x 80 cm long
2 facings at 48 cm wide x 9 cm deep
1 inner pocket piece at 25 cm wide x 18 cm deep
1 outer pocket piece at 30 cm wide x 25 cm deep
2 lengths of tape 45 cm each.

Step 1. Machine stitch a 1 cm double hem along the top edge of each pocket piece, and then press in a 1 cm turning along the three other sides of each pocket.
Step 2. With wrong sides together, pin the inner pocket piece in position (centred and about 10 cm down from the short edge of the main piece). Machine stitch around three sides, reinforcing both top corners with a bar-tack or triangle of double stitching.
Step 3. Divide the inner pocket in two by machining from top to bottom making one side wide enough for a phone to fit snugly.
Step 4. Turn work over, and pin the outer pocket piece in position, wrong side down, on the right side of main piece. Make sure you are covering all the stitchlines of the inner pocket, and that the bottom edge of the outer pocket is no more than 32 cms from the top shorter edge of the main piece. Stitch in place with two rows of stitching, reinforcing both top corners for strength.
.jpg)
.jpg)
Step 2. With wrong sides together, pin the inner pocket piece in position (centred and about 10 cm down from the short edge of the main piece). Machine stitch around three sides, reinforcing both top corners with a bar-tack or triangle of double stitching.
Step 3. Divide the inner pocket in two by machining from top to bottom making one side wide enough for a phone to fit snugly.

Step 4. Turn work over, and pin the outer pocket piece in position, wrong side down, on the right side of main piece. Make sure you are covering all the stitchlines of the inner pocket, and that the bottom edge of the outer pocket is no more than 32 cms from the top shorter edge of the main piece. Stitch in place with two rows of stitching, reinforcing both top corners for strength.
.jpg)
.jpg)
Step 5. Now that the pockets are in place, fold the main piece in half, short edge to short edge, right sides together and stich up each side to form a bag. Open up the side seams and press, and press a fold line along the bottom of the bag.
Step 6. To box out the bottom corners of the bag, open out each corner so that the side seam lines up with the bottom fold line , and the corner forms a point. Pin through the seam line and fold line to hold this position and mark a line that is at right angles to the side seam and 10 cm long. Stitch across this line.

Step 7. Take the two narrow facing pieces and stitch them together into a ring.

Step 8. Pin both tape handles into position, centred on right side of each of the facing pieces and with the loop hanging downwards. Stay stitch in position.

Step 9. With right sides together pin the facing around the top edge of the bag, aligning side seams, and making sure the handles are hanging downwards. Stitch all around the top edge, making sure the handles are stitched in securely.

Step 10. Turn facing upwards, opening up the seam you have just made and press. Press over a 2 cm turning along the remaining raw edge of facing.

Step 11. Turn facing down to inside of bag and top stitch all the way around the top edge of the bag, very close to the edge, and again all the way around the bottom edge of the facing.

An optional Step 12: To finish, if you want to strengthen the bottom of your bag, cut a piece of PELFORM 10 cm x 30 cm and cover with fabric. (if you haven't any pelform, use some rigid plastic maybe cut from an old file folder and use spray glue to fix fabric around it). Push the covered pelform into the bottom of the bag and hand stitch in position at each side along the box seam.

CHRISTMAS MAKE NO.9: LAVENDER BAG
1. Cut a piece of lightweight fabric 15 cm x 30 cm, and with right sides together, fold in half.
2. Open up, and place a loop of string on the fold mark, with the loop facing towards the centre of the fabric. Stay stitch in place.

3. Fold it back in half again and stitch along two sides of the square.
4. Snip away seam allowance at the corners.

5. Turn right side out and turn in a 1 cm hem along open side.
6. Fill with lavender
7. (This bit is really hard to explain, but actually really really easy) open up the open side of the bag and bring the edges back together again so that the seam is in the centre instead of the edge, and the flat square becomes a pyramid.

7. Machine-stitch across the open side, as close to the edge as possible.

CHRISTMAS MAKE NO.8: THE DRAUGHT EXCLUDER

As a rough guide, you need your excluder to be between 80 - 100 cm long. And the pieces that make up the length need to be about 25 cm wide. Stitch them together to your required length and fold in half lengthways, right sides together. Stitch into a tube and turn right side out. Fold a piece of braid over one end and stitch to close.

If you are using this project to undertake some stealthy recycling, collect your fabric and interlining scraps, old t-shirts and even all those odd socks that accumulate in any busy household (clean of course). Cut them into rough strips and pack them firmly down into the tube.

Once solidly stuffed, fold in the the raw edges of the open end and stitch across, catching in a loop of braid as you do so. That way, when not in use, you can hang it up on a handy coat hook nearby.
CHRISTMAS MAKE NO.1: THE ADVENT CALENDAR

You will need:
- 0.30 cms of ticking fabric in black and white, cut into 24 strips of 11 cm x 28 cm.
- a scrap of plain red fabric, cut into 24 x 4 cm squares
- 24 buttons and a magic marker to write the numbers on with
- some narrow ribbon or tape
- 24 little safety pins
- and a length of rope, string or tape to pin the pockets to.

- With right sides together, fold each strip of ticking in half lengthways and stitch up each side, leaving a 0.5 cm seam allowance.
- Fold down a 1.5 cm turning at the open end of the bag, and stitch. Catch a loop of ribbon into the row of stitches on one side of the opening.
- Turn right side out and press.
- With the magic marker, write the numbers 1 to 24 on each button
- Stitch each button into the centre of the red linen squares
- Stitch each square to the front of a bag
- Attach a safety pin to each ribbon loop

HOW TO MAKE AN INSTANT CURTAIN AND KEEP THE HEAT IN!
I don't want to sound like I'm crowing, but a recent post in REMODELISTA heralded a major policy flip-flop on the pressing question of curtains, particularly when directly related to the rising cost of heating! In the 90's and noughties, with minimalism in the ascendent and cheap money the norm, we all took down not just our curtains, but a lot of doors and walls too to open up our interiors in a way we felt reflected the openness of not only our lifestyles, but probably our hearts as well! Trouble is that now that our utility bills are sky-rocketing, and with America and Northern Europe experiencing the kinds of winters we thought were long gone due to global warming, its high time to re-assess those open-plan lifestyles!
While I love these re-purposed-wool-blanket blinds from Remodelista:

they are not going to keep the heat in during the day unless you want to live in semi-darkness (and god knows, during these dark winter days, we need all the light we can get). So these questions of heat loss and windows and light have been troubling me for a while, not just because I run a business making curtains, but because right here, right now, (until a couple of weeks ago that is) keeping my own flat warm was an issue. I live in the top two floors of a 4-storey Victorian terrace in London with lots of original features such as fireplaces alongside less desirable ones like leaky sash windows and chilly brick walls. Not only that, but we are end of terrace so are in fact exposed on three sides, or four if you count the roof. And on top of all that, I work from home, so do not even have the luxury of complaining about the over-heated office I have to endure each day. Instead, I worry about the heating bills, and wear wooly house-slippers!
But a couple of weeks ago, with snow softly falling outside, I cracked it! I figured out that all our expensive heating was whistling up the stairs, where we hardly ever go during the day, and thence out through said thin walls and leaky windows instead of curling around our cold toes downstairs!
I needed a quick fix. I ordered a single bed quilt

from OKA having first checked that it would be the perfect length at 230cm to hang at the bottom of my staircase. I put up a stainless steel pole in preparation, and, as SOON as the quilt arrived the next day, I didn't even wait to sew on tape for the hooks (you'll notice, I also didn't wait to check which way the pattern ran either, so desperate was I to stop those heating £'s escape).

I just pinned the hooks right through the quilt and hung it up. And all I can tell you is that even I, who has extolled the virtues of thick curtains for YEARS, have been totally amazed at how warm and toasty we have been ever since. In the words of the old song: Let it snow, let it snow, let it snow!
Shall I count the ways in which this curtain pleases me? Apart from being pretty, that is?
1. As soon as the spring arrives, I can take it down in a matter of seconds and return to my normal airy ways
2. Because it is a 100% cotton quilt, I can machine wash it, dry it and then fold it up and put it away until next winter
3. Which is another way of saying, it doesn't matter that its white!
4. I am even loving that retro experience of going upstairs to a cool bedroom, and am thinking of reviving the art of the hot water bottle (Note to self: cue next diy project).
and 5. lastly but most importantly, my heating bills are nose-diving while I write!

And I promise you that, as soon as the temperature rises, I'll take it down, sew on some tape and make sure the pattern runs the other way up!
HOW TO MAKE A TEMPORARY SWEDISH BLIND:
There's always a last minute panic in the run-up to Christmas, and over the years, I've learnt not to promise too much - there's nothing worse than rushing to finish a job with too little time. You usually end up with a botch that will have to be unpicked in the New Year.
But this year, one client was worried, having just moved into a new house, that her hall windows left her a little over-exposed. I agreed to make her some sort of temporary fix that would see her through the holiday. Throughout the weekend at a family pre-Christmas gathering, work supposedly put firmly to bed, the prospect of fulfilling my promise was actually niggling at the back of my mind. I didn't have a clear idea of what to do. It needed to be a quick fix but at the same time look good, because this was her hall afterall, where first impressions count.
However when Monday morning dawned I awoke to a fully formed idea - down to the last detail. I must have dreamt of the roll of lining paper left over from the summers re-decorating, and I also knew I had some black ribbon somewhere around. Best of all, I remembered a roll of monochrome patterned selotape, produced by hugely hip and inspirational fellow pattern-freaks - Patternity . I dashed out to buy a broom handle from the local hardware store and set to work:

First of all, cut a piece of lining paper to fit the window. Cut a piece of broom handle the exact width of the window.

Stick selotape all down both side edges of the blind to re-inforce the paper.

Roll the bottom edge around the broom handle and stick firmly with selotape.
Cut two lengths of ribbon, fold them in half and flip them over the top edge of the blind, so one end each hangs at the back of the blind, and the other ends hang at the front. Stick them in place with selotape.
Lastly, use some double sided tape along the back of the top edge of the blind. Peel off the backing, and stick the blind in place at the top of the window. Roll up the bottom and tie the ends of each ribbon in place. Voila!


No comments:
Post a Comment